
OSRS Ghrazi Rapier Guide
04.09.2024 - 17:41:08
Game Guides , Runescape

There are loads of melee weapons in OSRS, especially considering that there are Slash, Stab, and Crush types. If you’re looking for one of the best Stab weapons in OSRS, then you might want to feast your eyes on the Ghrazi Rapier. Here’s everything you need to know about this weapon.
OSRS Ghrazi Rapier
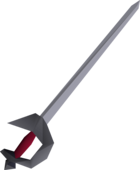
The Ghrazi Rapier is regarded as one of the most powerful Stab weapons in the game. It has amazing damage and you can get it as a rare drop from the Theater of Blood Raid. If you’re having trouble beating the raid, we’ll be showing you a guide in a bit. Let’s first talk about this weapon and why it’s considered as one of the best.
Not only does the Ghrazi rapier have the highest Strength and Stab bonus in the game, it also has a good attack speed. It’s damage output is pretty much top-tier. It’s tied with the Blade of Saeldor and the Inquisitor’s Mace if you’re calculating purely by the highest damage possible.
Check out its stats with these tables below.
If you have a holy ornament kit, you can combine it with the Ghrazi Rapier to make it Saradomin-themed. This is purely cosmetic though but doing this will allow you to bring the weapon inside the God Wars Dungeon.
Optimal Setup
Inventory Setup
Super Combat Potion: This boosts your attack, strength, and defense all at once.
Prayer Potions: Keep these handy to maintain Piety or Rigour.
Food: Sharks are solid, but you can go for something stronger like Anglerfish or Saradomin Brews.
Special Attack Weapon: Dragon Claws or Armadyl Godsword are great for finishing off enemies quickly.
Teleport: Bring a Teleport to House or Ancient Tablet for a quick escape if things go south.
Combat Style
Attack Style: Always use Stab—that’s where the Rapier shines.
Prayer: Piety is your friend here for boosting your stats. If you’re taking hits, throw on Protect from Melee.
Special Attack: Use Dragon Claws or Armadyl Godsword to drop enemies fast when you need to.
Strategy
PvM: The Rapier is great against high-defense monsters, especially those weak to stab attacks. Think Vorkath or Corporeal Beast.
PvP: In PvP, the Rapier's fast attack speed can really put pressure on your opponent. Pair it with a strong special attack weapon like Dragon Claws to keep them on the back foot.
Quick Tips:
The Ghrazi Rapier is all about speed and stab damage, so use it against enemies where those matter.
Gear up with high strength to really maximize your damage.
How To Get Ghrazi Rapier (Theatre of Blood Guide)
Equipment Setup
For your equipment, use Void arranged with a black dragonhide shield and god dragonhide boots. We also think bringing a ranging book or an unholy book would work just fine. Bring an Amulet of Fury; if you can afford an Anguish, it would obviously be a lot better, but the Fury is also just fine. You also only have an Explorer's ring for a small prayer bonus. If you have an Archer's ring, of course, that would be better, but again, this is a pretty budget setup,
Finally, we definitely recommend bringing dragon bolts. You can make due using the diamond bolts (e). You’d probably be able to make it work with these, but the dragon bolts would obviously ensure success. They are quite expensive, but you don't need very many to make a run work.
Inventory Setup
Your inventory should be mostly focused on healing. We've got exactly 12 brews and a couple of food items. The reason we've split it up this way is that you get bandages in the Theatre, and the food is primarily there to help account for early mistakes until you get your first set of bandages after Pestilent Bloat .
In addition to that, just have a ranging potion, a super combat potion for Pestilent Bloat , and a prayer potion to help ease the prayer loss in the early parts of the Theatre. For supplementary gear, have a melee weapon with a defender, a spec weapon for Pestilent Bloat (which is the dragon dagger), and the Trident of the Seas. The only time you really need to use anything other than your ranged setup is for Pestilent Bloat and Nylos.
You might be thinking that's kind of silly since Sotetseg and Verzik are both melee bosses as well, but you'd be surprised—in the Theatre, their combat stats are reduced enough that ranged actually does really well and makes the mechanics a lot simpler. The trident is only used for Nylos; that's the only time we mage at all.
Definitely, the key strategy here is to keep costs low and complexity down. You could bring more switches, like additional helmets for our Void, but really, it's not necessary. We had no problems just cheesing it through with this setup, and as you can see, it's not very expensive.
The Maiden of Sugadinti
Upon entering the Theatre, you're going to be going through a series of bosses, and they kind of get harder the further you get along. The first boss, Maiden, is actually incredibly easy and mostly intended to be ranged anyway. Basically, all you're going to do is stand back a little, pray mage, and range her down.
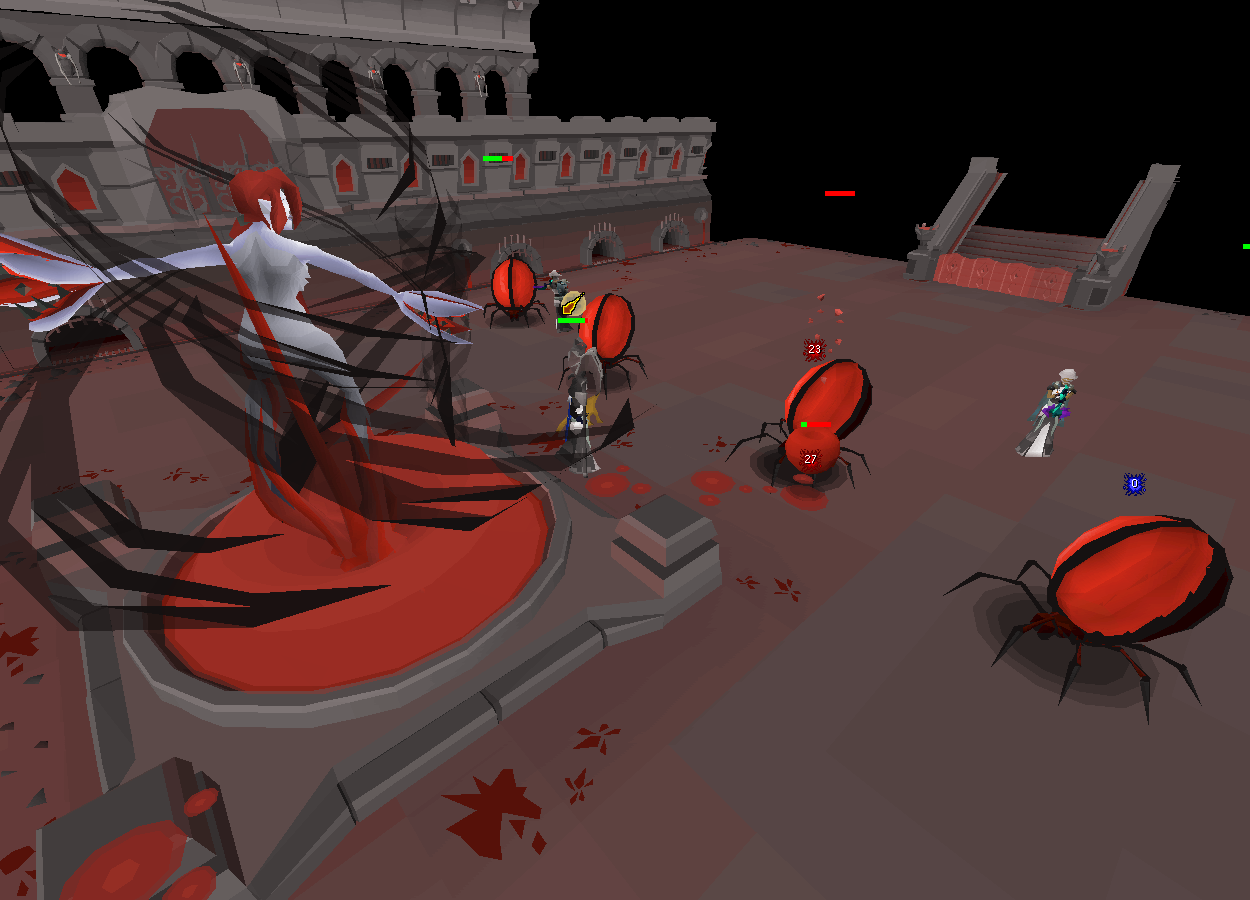
At 75%, 50%, and 25% HP, she will spawn little spider minions that go to heal her. All you have to do is try to DPS them down before they get to her. Freezes aren't necessary in story mode at all because they only have 16 HP, so you should have no problem one-hitting them or maybe two-hitting them if necessary.
The only thing you need to look out for with this boss is that she fires blood at you every once in a while. Just make sure you don't stand on the blood, and you'll be fine—it does a lot of damage and heals her. To make it a little simpler, you can always walk between each fire of your crossbow, just to make sure that you don't accidentally get caught off guard.
Overall, there's no reason that Maiden should cost you any supplies other than maybe a dose of prayer potion. Make sure you try to conserve it as much as possible, as you will get a full heal and restore after she dies.
Pestilent Bloat
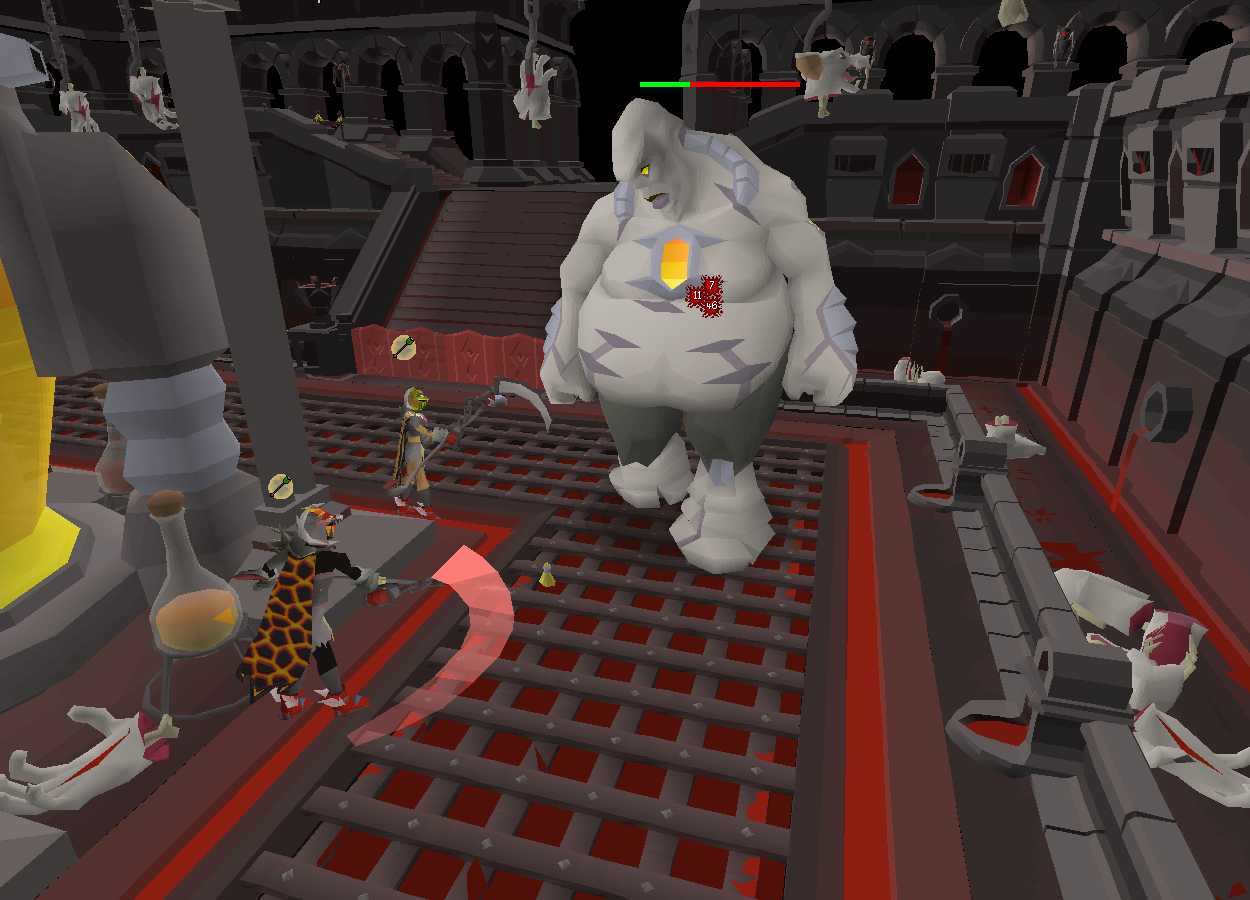
Next is Pestilent Bloat who is actually a little punishing if you don't know what to do. The whole goal is to stay out of his line of sight by standing on the other side of the pillar that he'll walk around inside the room.
You need to keep an eye out because he will occasionally turn around randomly, and also, when he gets lower health, he'll start running. The main problem here is going to be conserving your run energy. We didn't think it was a problem, so we didn't bring any stamina potions, but you could bring a stamina potion here to conserve some energy. However, in our opinion, all you really need to do is just walk while he walks and then run while he runs, and you shouldn't run out of energy.
After a few seconds of walking around the pillar, he will eventually go into a disabled state where you can get off a few hits on him. If you get there in a reasonable amount of time, you should be able to hit him five times before you need to get away. If you don't get away fast enough, he will hit you for a large amount of damage as he wakes up. So, basically, all you need to do is just count those five attacks and then run away to the other side of the pillar.
The only other thing is to keep an eye out for the falling body parts around the room, but honestly, they are so uncommon that unless you're really unlucky, you won't get hit more than a couple of times. Getting hit here a few times is totally fine because we're going to get bandages after this room, so the food is going to be dropped anyway if you don't use it.
For Nylocas, just run around the column until he gets disabled. Hit him five times, and then he dies, and you get to move on. After he dies, you'll be able to get 10 bandages. Take as many of them as you can fit without sacrificing any of your actual brews or restores.
At this point, we recommend dropping the super combat and ranging potions in exchange for bandages, as the bandages are basically a super combat, a ranging potion, a shark, and a stamina dose all rolled into one. They're really powerful and way more important than these potions. We didn't actually do this here, and that was a big mistake. The only thing better than them is the brews and restores because you'll need a lot of healing later on.
Nylocas Vasilias Room
So, the third room is Nylocas Vasilias, and this is one place where a blowpipe would actually be really nice because these guys only have 2 HP, and you need to kill them as fast as possible. The strategy here is just to focus on one color until most of them are dead and then swap to another color. Always de-prioritize the melee minions as much as possible because when these guys time out, they explode and deal a good amount of damage, and we didn't want to be near them at all.
To know what style to attack them with, it's really simple: the green ones need ranged, the blue ones need magic, and the white ones need melee. One thing you need to be absolutely sure of is that you're prioritizing the ones that are damaging you first because they actually do a lot of damage.
If you can't afford a ring of suffering with recoil charges, it's probably really nice to bring here. Otherwise, we don't think recoils are worth it because you'll burn through them so quickly anyway, and the inventory space is much more needed for other things.
Overall, it will seem really scary during the Nylocas Vasilias waves, but it shouldn't be too bad. If you let a column or two fall, it shouldn't be too bad. You don't really need to prioritize the low-health column or anything; just keep killing as many as possible and focus on the ones that are actually damaging you first. If you don't have 75 Magic for a trident, something like Iban's Blast is perfectly fine here. It does suck that it's a tick slower, though, so if you can use a trident, definitely use it.
After you survive the waves, Nylocas Vasilias itself will spawn, and this is actually a walk in the park compared to the waves. Basically, Nylocas Vasilias will change color, respecting each of the three colors that you've seen during the waves, attacking with the same style as its color, and its weakness is also the same style as its color.
This makes it really easy. All you want to do here is be ready to change your prayer when it changes color, as you'll want to avoid damage as much as possible. After you change prayers, swap to the correct attack style and give it an attack. If you do this reasonably fast enough, you should be able to get three attacks in with the scimitar or the trident, or two attacks with the crossbow before it changes again.
Overall, you should really use no supplies on the Nylocas Vasilias fight itself. The waves will probably take some of your bandages. For us, it did take all of the ones that we managed to bring from Pestilent Bloat , which was unfortunate, but overall, the room shouldn't cost too many supplies. Once you've damaged Nylocas Vasilias down, you're able to move on to the next room.
Sotetseg
Sotetseg, as you may know, is a melee boss. You're supposed to melee it down, as its melee defenses are the lowest. But because we're in story mode, its stats are reduced so much that you can actually damage it pretty consistently with range.
That said, it's still going to be a really long fight, so that's pretty unfortunate. If you can melee it, it's probably better to melee it anyway. But because of how the mechanics get a lot easier when you're standing a distance away from it, we think it's worthwhile to actually just cheese it with range.
Sotetseg is really simple. If he fires a red ball at you, pray Mage, and if he fires a black ball at you, pray Range. It's that simple. Unlike most NPCs in the game, the prayer check doesn't actually happen until the ball reaches you versus when the ball emits from the boss, so keep your prayer on until the ball has actually hit you.
He'll also occasionally fire off a giant slow-moving ball that in the actual Theater is an insta-kill mechanic, but here it just does 15 damage. There's nothing you can do to reduce the damage or stop it, so you just have to take it head-on. Just make sure you keep your health high enough, and you'll be fine.
The only other thing about Sotetseg is, of course, the maze that he traps you in when he hits 66% and 33% health. Now, definitely don't panic with the maze. You're not guiding anyone else through, so you don't need to go fast. You will take a small amount of damage over time, but the little tornado that forces you down the path won't actually spawn until you're on it. So, make sure you line yourself up and get ready to click through the maze as fast as you can. But overall, don't panic. You have more time than it seems to get through this maze, and the damage over time is really low.
Xarpus
After Sotetseg is Xarpus, and Xarpus has three phases. The first phase just has you running around the room, standing on these little spots where balls spawn and charge up Xarpus to be a little stronger. Try to stand on them as much as possible just to block a little bit of health; it'll make the fight a little bit easier for you. It's really simple and straightforward, though.
After this continues for a little while, Xarpus will stand up, and you'll have a chance to get off a couple of free hits before he starts attacking you. The whole strategy around Xarpus is to avoid these little green projectiles as much as possible. How we're going to do that is by standing on one tile until he fires about two projectiles in your direction. Then, move forward two tiles away and continue this in a grid pattern around the room.
Hopefully, the visuals on screen illustrate what we're saying a little better than we're explaining it. When using a crossbow, it basically meant we were able to get two hits off, move two spaces, get one hit off, move two spaces, get two hits off, and so on. The most important goal is that he attacks the same square twice before you do, because otherwise, you could run out of squares in the room, as this stuff never goes away. Obviously, don't stand on squares he's already attacked because you'll take massive damage.
After you get him down to about a third HP, he'll enter the last phase of the fight, which is really simple. All you need to do is make sure you don't attack him while he's facing your direction. What you do is stand in one quadrant of the room, attack him when he's facing away, and don't attack him when he's facing you. Don't worry too much about doing anything fancy here and trying to get in extra hits by moving to other quadrants of the room while he's facing you. Literally just stand there if he faces you and don't attack. This isn't a speed run, and he won't do any damage to you, so you're not wasting supplies.
Basically, once you get to the last third, you should feel relieved because it's going to be really easy for the rest of the fight. Overall, we recommend using no supplies here if you can, not even a dose of Prayer potion, because you'll get a full restore after the fight, and it's such a slow fight with such low damage that you don't really need to rush things by using Prayer or anything.
So after Xarpus, definitely make sure you grab the Dawnbringer from the skeleton by the exit.
Heading into Verzik
As you head into Verzik, position yourself on her left side to initiate the fight. Right away, use two special attacks and one normal attack before running behind the nearby pillar. She will fire an attack, after which you can attack her two more times before retreating to the pillar again. During this phase, you don’t need to worry too much about praying, as getting caught by one of her attacks only deals 40 damage off prayer.
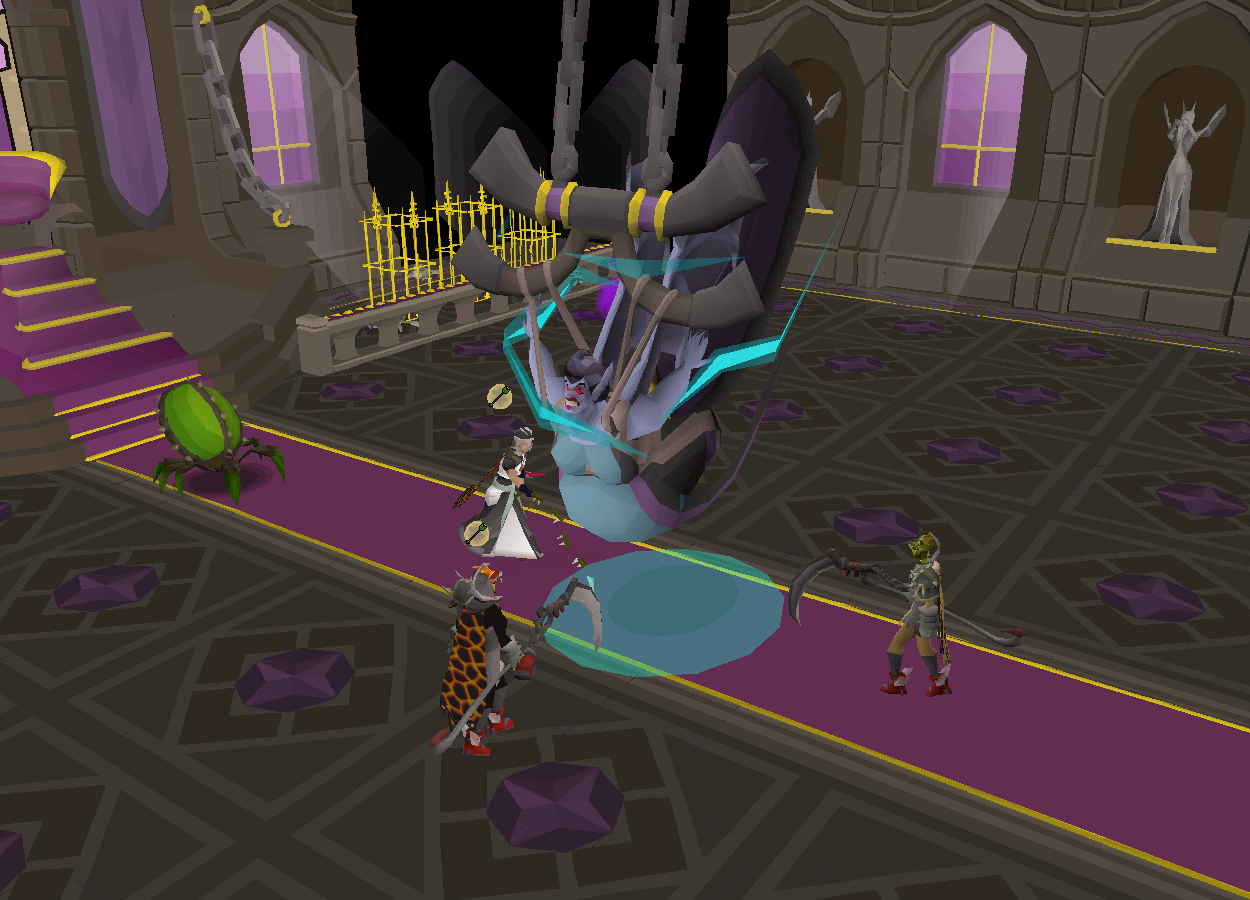
It’s worth conserving your prayer for this part. The first phase is mostly about attacking her with the Dawnbringer and making sure to get away from the pillars as her health drops to zero, as they can deal significant damage when they fall.
Phase 1 to Phase 2
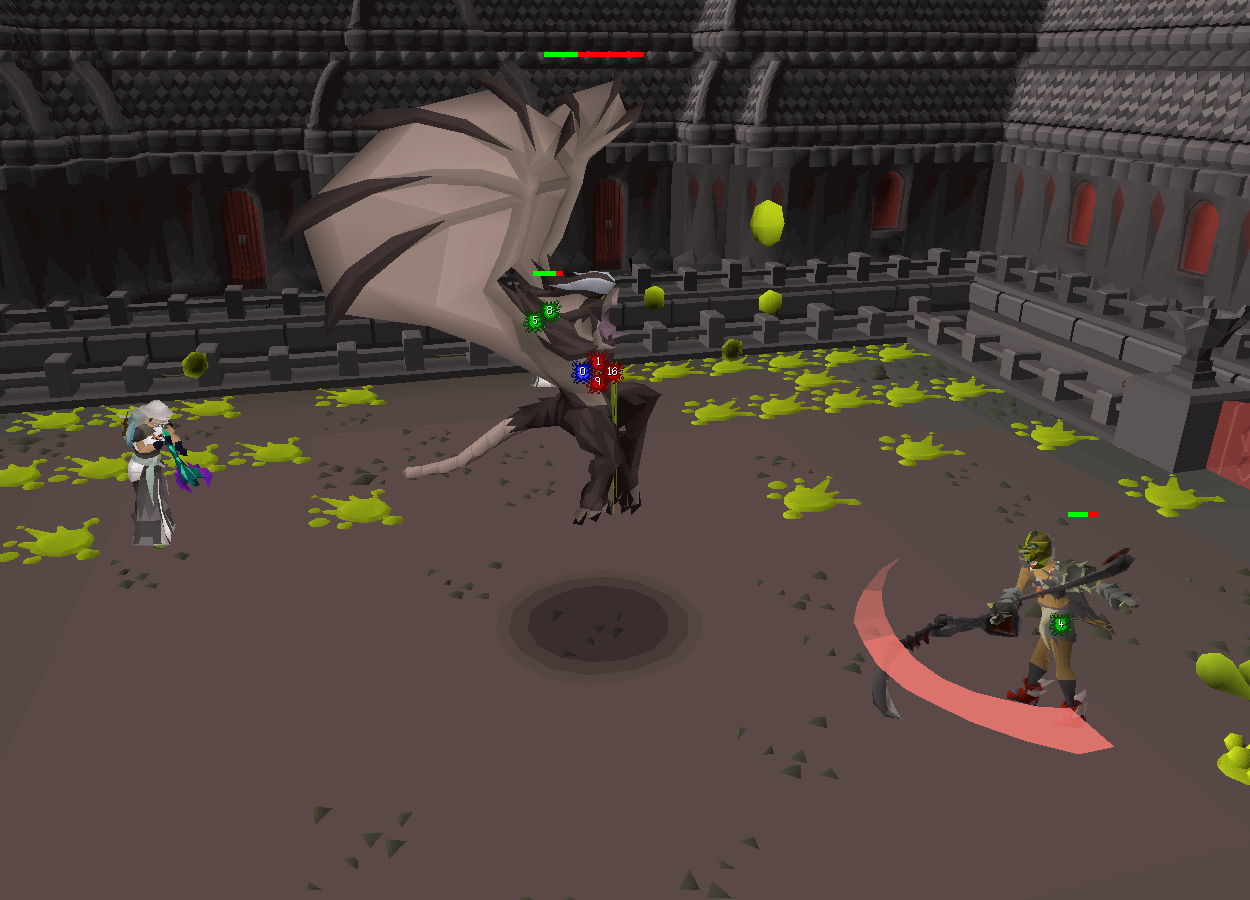
In the second phase, things get a bit easier. You'll be ranging Verzik from a distance, simplifying the mechanics. Run away from the spiders she spawns, which can deal big damage if not handled correctly. Use the Dragon Dagger to poison and kill the purple healing spiders that appear.
The second phase is mainly about attacking Verzik with your ranged weapon, avoiding the spiders, and dealing with the purple spiders using poison. Also, make sure to move a couple of tiles between each attack to avoid her delayed ranged attack, which can be dodged by getting off the targeted tile. Keep praying against ranged attacks just in case, and preserve your Saradomin Brews by using bandages first, only using them when you need a dose of prayer potion as well.
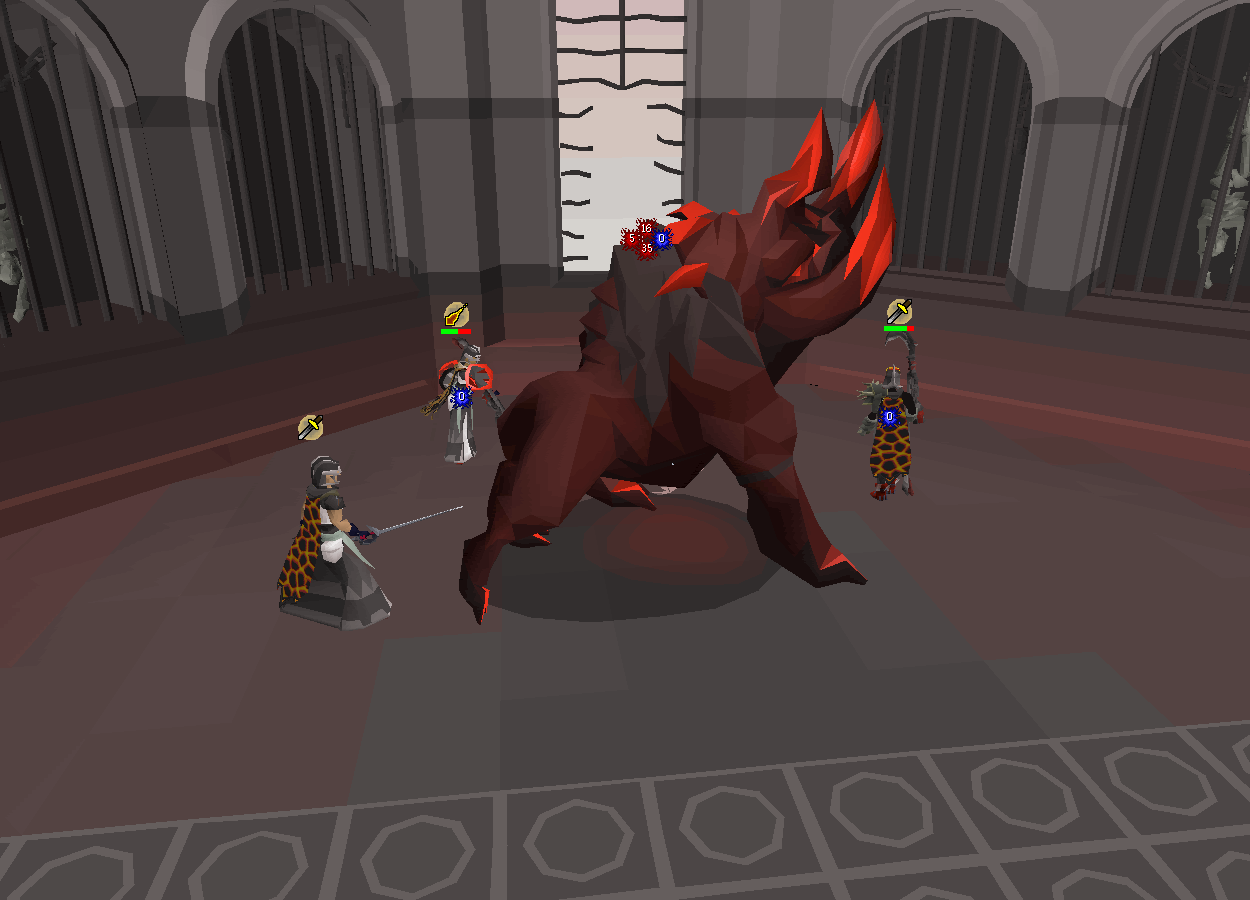
Phase 2 to Phase 3
Phase 3 can be tricky, as Verzik heals from your damage if you attack her at the wrong time. This phase requires you to be cautious about when to attack. You'll start to get a feel for when it’s safe to attack before she summons her red spider minions. The key is to only kill the spider minion nearest to you and keep the other one alive.
If you kill both, she will quickly summon more, but leaving one alive gives you more time to damage Verzik. The remaining spider will die on its own after a short while, signaling that she's about to enter a phase where you can't damage her. During this phase, pray magic, as her primary attack is a homing magic attack that can't be avoided. Keep moving a few tiles between attacks to avoid random ranged attacks.
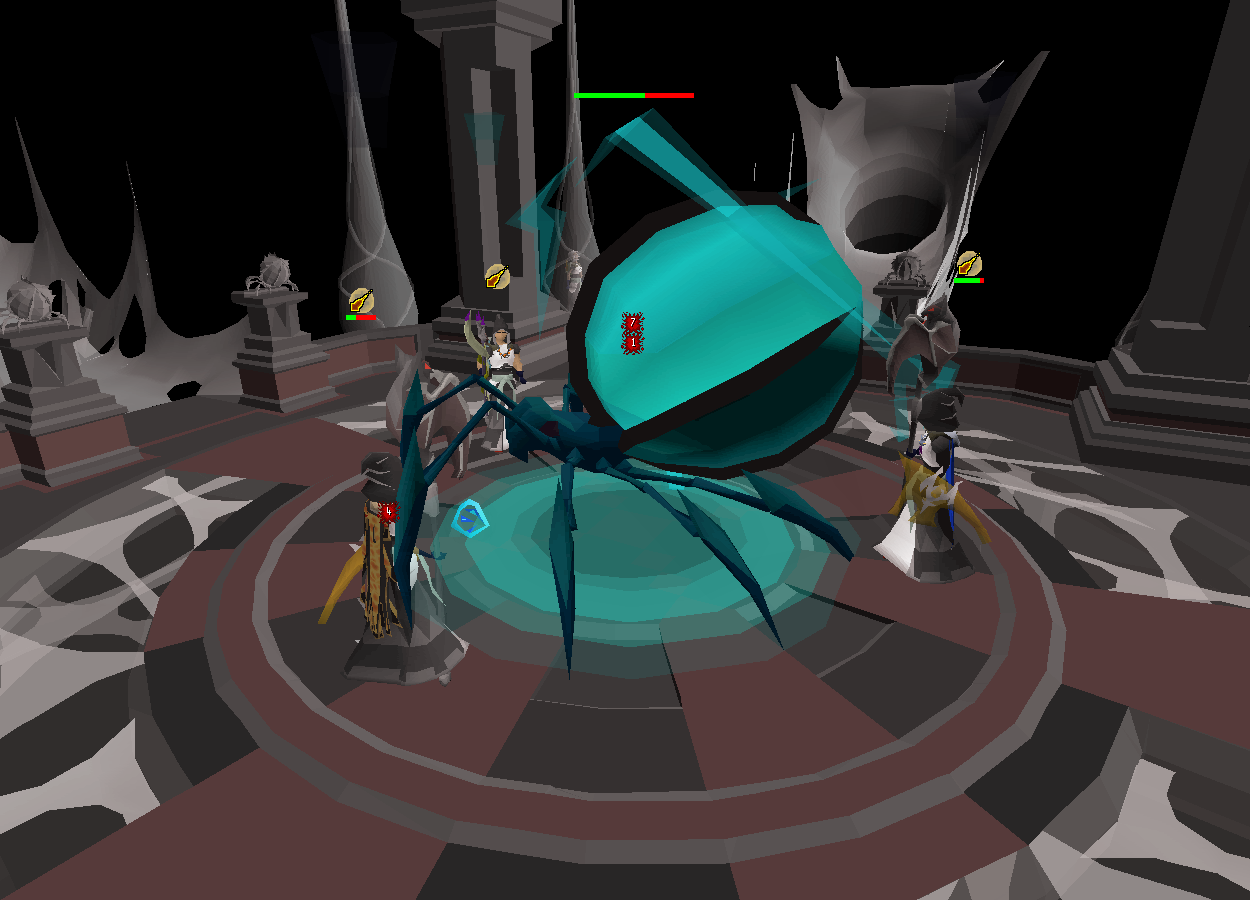
Final Phase
The final phase is the hardest, where Verzik transforms into a giant walking spider. During this phase, look out for her attacks: if she turns blue, pray magic; if not, pray range. She will also continue to summon spider minions that you need to avoid by running back and forth across the room. The key here is to run under her between attacks to keep moving and avoid minions. She will also use a series of special attacks, starting with the web cannon.
This is easy to dodge in singles in story mode—just run around the room in a slow circle, staying toward the outside to avoid getting webbed.
Another attack to watch for is the cannon, which requires you to stand on a specific yellow spot on the ground to avoid damage. You can't damage her during this attack, so just run to the spot and wait it out. The hardest part of this fight is managing your health while moving around the room and consistently attacking.
A good strategy is to drink Brews when running under her, as you won't be attacking anyway. Remember to take one dose of Restore for every three doses of Brew. If you have any bandages left, use them after your Brews to get the combat stat boost without it being negated by the Brews.
Finally, Verzik will summon a tornado that follows you around the room when she’s close to death. Stick to the same strategy of running around the room and under her between attacks, and you should be able to ignore the tornado without changing your strategy. Keep this up, and you'll eventually bring Verzik down to zero health, successfully completing the Theatre of Blood on story mode.
Start Dominating With Ghrazi
The Ghrazi Rapier is a tough catch considering that the Theatre of Blood Raid is hard. If you’re having trouble through all of this, don’t hesitate to call to us at RPG Stash for help!
![OSRS Gold (1M) [⏱️ 5-10 Min via In-Game Trade]](/img/tmp/product_mini_2_2939.jpg?time=1738032771)
![OSRS Services [Achievements, Fire Cape, Infernal Cape, Minigames, PvM, Raids, Quests]](/img/tmp/product_mini_2_52597.jpg?time=1738032771)

![Ghrazi Rapier [OSRS Item]](/img/tmp/product_mini_2_4138.jpg?time=1738032771)
![Amulet of Torture [OSRS Item]](/img/tmp/product_mini_2_4111.jpg?time=1738032771)