


OSRS Easy King's Ransom Quest Guide
26.12.2024 - 01:59:24
Game Guides , OSRS Guides , OSRS Quests & Achievements , Runescape

OSRS King’s Ransom quest is one of the most essential quests that the players have to complete in Old School Runescape. Completing this quest allows the player to unlock piety which greatly boosts one's combat prowess using melee. In this guide we will go step by step and explain how you can complete this quest with ease.
If you don’t enjoy doing quests and want someone else to do them for you you can check out our OSRS Quest Services to have someone else do it for you!
First up, let's cover what you'll need to begin this adventure:
Skill Requirements:
- Defence: 65 (not boostable)
- Magic: 45 (not boostable)
Quest Prerequisites:
- Black Knights' Fortress
- Holy Grail
- Merlin's Crystal
- Murder Mystery
- One Small Favour
- Rune Mysteries
- Shilo Village
- Jungle Potion
- Druidic Ritual
Essential Items:
- Granite (any size)
- Telekinetic Grab runes (1 air, 1 law - can get during quest)
- Full black armor set (helm, platebody, platelegs/skirt) - Note: Trimmed works, (h) versions don't
- Bronze med helm
- Iron chainbody
- Animate rock scroll (obtainable during quest)
Recommended Items:
- Ardougne teleport
- Camelot teleport
- Combat bracelet or Glory amulet (for Black Knights' Fortress access)
- Dramen/Lunar staff with fairy ring code CJR
- Salve graveyard teleports
Short & Long Guide Format Like most complex quests, I'll break this into two parts: a quick bullet-point guide for experienced players, and a detailed walkthrough for those who want more explanation.
Short Walkthrough

Sinclair Mansion Investigation
- Talk to Gossip outside Sinclair Mansion (north-west of Camelot)
- Speak to the guard in the courtyard
- Break into the mansion through the smashed window on the east side
- Collect evidence:
- Scrap paper from dining room (ground floor)
- Address form from library (1st floor)
- Black knight helm from library bookcase
- Return items to the guard via window
- Talk to Gossip again using all dialogue options
The Trial
- Head to Seers' Village courthouse (south-east of bank)
- Talk to Anna (Chat option 1)
- Go downstairs to begin trial
- Call witnesses in this order:
- Dog Handler - Ask about poison
- Butler - Ask about dagger
- Maid - Ask about night of murder
- Anyone - Ask about thread
- When done correctly, Anna will be found not guilty
- Exit courtroom and speak to Anna again
Camelot Castle Prison Break
- Head to east side of Camelot, search statue
- Get telekinetic grabbed or talk to knights for lockpick
- Use grab/lockpick on door to begin puzzle
- Solve tumbler puzzle:
- Set all to lowest height
- Check for green circles
- Increase other tumblers one by one
- Repeat until solved
Finding the Holy Grail
- Climb stairs to top floor of Keep Le Faye
- Search table in northern room
- Pick the round purple box (second from right)
- Warning: Wrong boxes trap and teleport you out!
Freeing King Arthur
- Visit Wizard Cromperty in East Ardougne for scroll
- Grab equipment needed:
- Bronze med helm
- Iron chainbody
- Full black armor set
- Granite
- Holy Grail
- Head to Black Knights' Fortress
- Wear bronze helm and chainbody to enter
- Switch to black armor, push wall behind entrance
- Climb down ladder to find Arthur
- Free him using scroll and granite
- Give him the guard uniform
- Return to Camelot, speak with Arthur to finish
Long Walkthrough
Starting the Quest
Things are about to get interesting at Sinclair Mansion. Head over to chat with Gossip outside - he's got quite the story to tell. Apparently, Anna's been accused of murdering Lord Sinclair (yes, the same murder you investigated before), and the entire Sinclair family has vanished. Oh, and King Arthur and his knights? They're missing too. Convenient timing, right?
The guard nearby is pretty suspicious about the whole thing. He thinks the Sinclairs might be plotting to take back Camelot - after all, Lord Sinclair did sell it to Arthur. Unfortunately, the Seers' Council has banned everyone from investigating... everyone except you, that is.
Breaking and Entering
First stop: the mansion itself. Find the broken window on the east side and climb through (hey, it's not breaking and entering if it's already broken, right?). We need to collect three pieces of evidence:

- A scrap paper from the dining room - it's got some interesting notes about Camelot
- An address form from the library - completely blank, showing they never planned to tell anyone where they were going
- A black knight helm hidden in the western bookcase - now that's suspicious
The Trial
After finding the evidence, take it back to the guard. He thinks the bureaucrats will take months to act on it, but you've got a better idea - some good old-fashioned investigating.
Time to hear the local gossip! Our chatty friend outside has three juicy bits of Sinclair family history:
- Lord Sinclair and King Ulthas were besties, but his kids were spoiled brats
- The Sinclairs actually used to live in Camelot before selling it to Arthur
- Anna's locked up in the courthouse, giving everyone grief
Speaking of Anna...
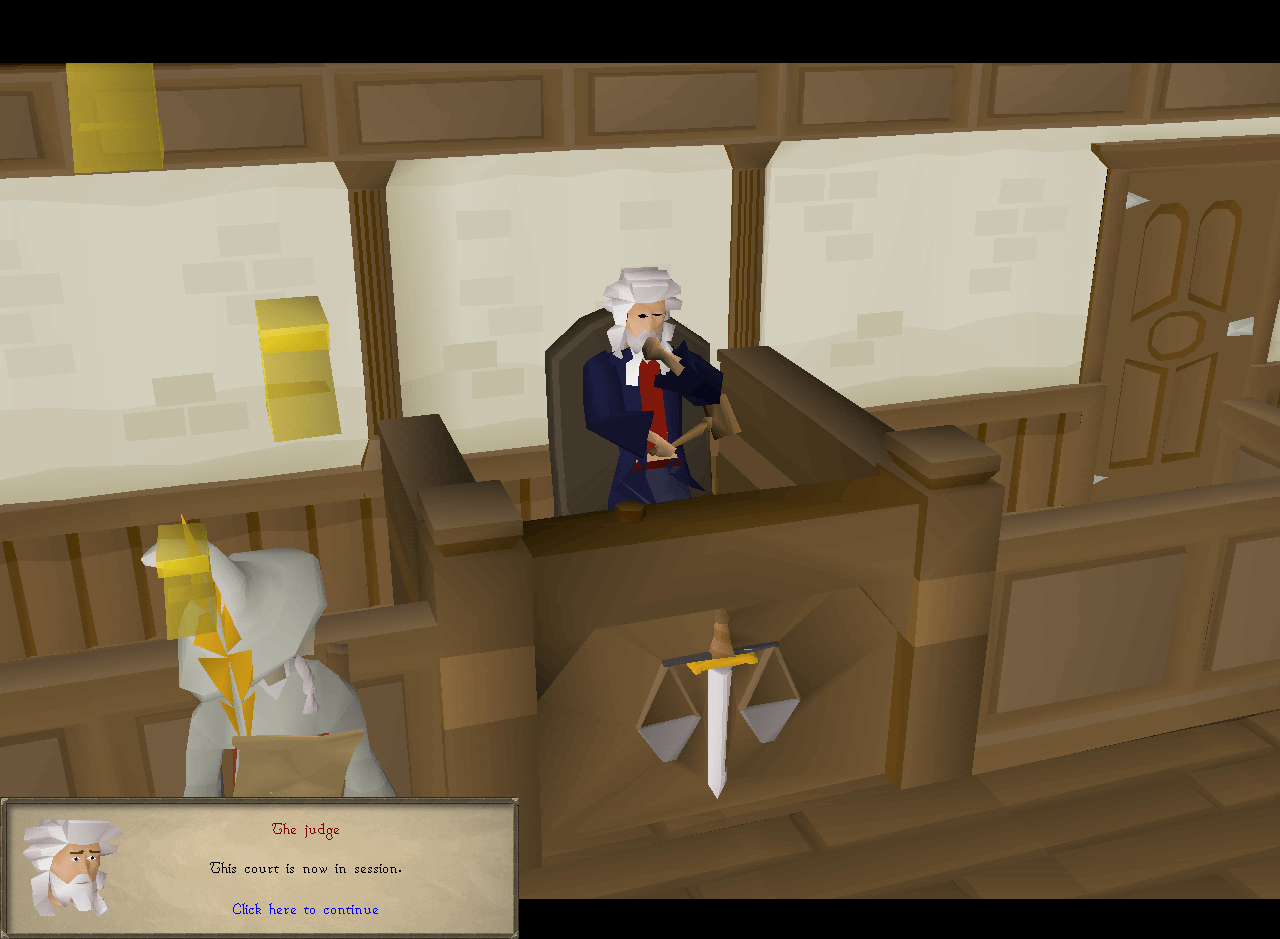
The Courthouse Drama
Head to Seers' Village courthouse - that fancy building south-east of the bank. Anna's up a creek without a paddle, but she's got a deal for you: help prove her innocence, and she'll spill the beans about getting into Camelot.
Here's where it gets interesting. The prosecution has four pieces of evidence:
- Anna's fingerprints on the dagger
- Poison she bought but "didn't use"
- A thread from her clothes at the scene
- Witnesses placing her there
Time to play lawyer! Call your witnesses in this exact order:
- Butler - He'll clear up the dagger situation
- Dog Handler - Get him talking about that poison
- Maid - She'll explain what she saw that night
- Anyone else about the thread
Tip: If you make a mistake, you'll need to start the trial over. When you've done it right, confetti and balloons will fall.
The Plot Thickens

After winning the trial, head east of Camelot Castle and check out that statue. Surprise! You'll witness a charming family reunion between Anna and David, complete with them admitting they both killed their father and set you up. Before you can say "betrayal," Morgan Le Faye shows up and knocks you out cold.
Jail Break!

Well, well, well... look who's behind bars with Arthur's knights and Merlin! After you shake off that headache from Morgan's knockout spell, chat with Merlin. He'll fill you in on the mess:
- King Arthur's been turned to stone
- The Sinclairs teamed up with Morgan Le Faye
- Black Knights are in on it too
- And to top it off, they've nabbed the Holy Grail
Breaking Out - Phase 1: Merlin's Great Escape
First things first - we need to get Merlin out. Look at that vent on the wall opposite the cell door. What follows is pretty entertaining - the knights form a human pyramid to boost Merlin up to the vent. Medieval teamwork at its finest!
Quick note: Need a break? You can use that same vent to leave. Just come back to Camelot and click the gates or search the statue to get thrown back in jail. Morgan's nothing if not consistent!
Breaking Out - Phase 2: The Lock Puzzle

Now for your escape. You've got two options:
- Brought telekinetic grab? Snag that hair clip from the preening guard outside
- No runes? Chat with the knights - they're walking supply closets of random items
Time for some lockpicking! You'll face a puzzle that's basically medieval Mastermind. Here's the foolproof method:
- Set all tumblers to lowest position
- Test the lock
- Green circle? Leave that tumbler alone
- Red circle? Skip that height on other tumblers
- Keep adjusting until you're free
Finding the Holy Grail

After breaking free, you'll find yourself in Keep Le Faye's ground floor, where Arthur's knights are busy showing the renegade knights who's boss. But we've got bigger fish to fry - the Holy Grail is upstairs!
Head to the top floor and you'll find a table with several containers. Time for a riddle! The answer's surprisingly specific - you want the round purple box, second from the right.
Word of warning: Choose wrong and you'll get a nasty surprise. The wrong boxes have traps that:
- Deal 5 damage
- Drain a random skill
- Teleport you near Ardougne Monastery
If you get teleported out, getting back in is simple but annoying. Either:
- Try the Keep Le Faye door
- Click Camelot's gates
- Search that statue again Morgan will pop up and zap you back to jail. At least you won't have to solve the lock puzzle again!
Freeing King Arthur

Time to rescue our petrified king! First stop: Wizard Cromperty in East Ardougne. He'll explain that freeing Arthur is similar to how you helped Petra Fiyed in One Small Favour, but with an extra twist to break Morgan's spell.
You'll need:
- The animate rock scroll from Cromperty
- A piece of granite
- The Holy Grail you just nabbed
Important note: Even if you've got the scroll from One Small Favour sitting in your bank, you MUST talk to Cromperty anyway. Your character won't cast the spell otherwise. And if you've got the scroll in your bank, destroy it or bring it - he won't give you another one.
The Final Rescue
Getting to Arthur requires some clever disguise work:
- Grab a bronze med helm and iron chainbody (Draynor Manor or Wayne's Chains in Falador if needed)
- Head to the Black Knights' Fortress west of Edgeville
- Wear the helm and chainbody to get past the entrance guards
- Once inside, quick-change into your full black armor
- Push that suspicious wall behind the entrance (won't budge unless you're in full black)
- Climb down and you'll find our stone-cold king
- Use the scroll with granite and Holy Grail in inventory
- Give Arthur the guard uniform (the helm and chainbody)
- Meet him back at Camelot for your reward
Quest Complete!
Rewards
- 1 Quest point
- 33,000 Defence XP
- 5,000 Magic XP
- Antique lamp (5,000 XP in any skill 50+)
- Access to Knight Waves Training Grounds
- Ability to use Chivalry (60 Prayer) and Piety (70 Prayer) after completing Knight Waves Training
Required for Completing
- Knight Waves Training Grounds
- Hard Morytania Diary
- Hard Kandarin Diary